Big tile needs a flat floor
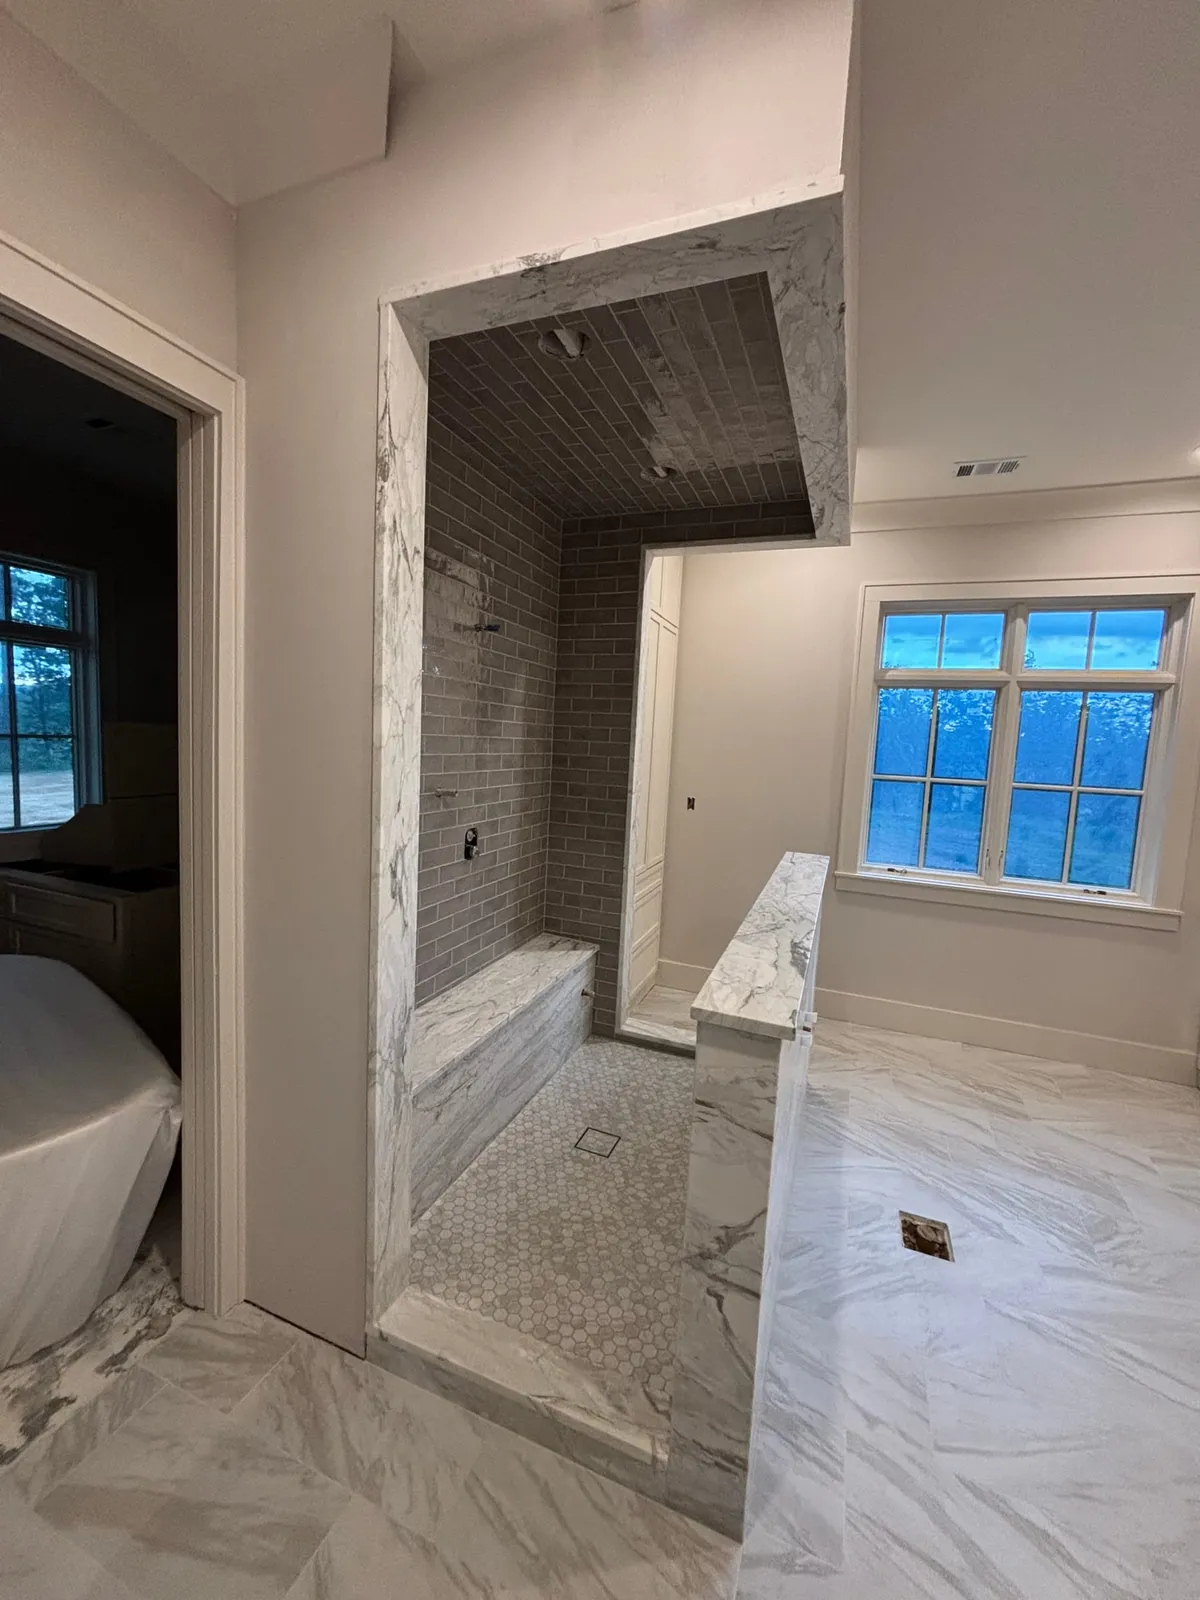
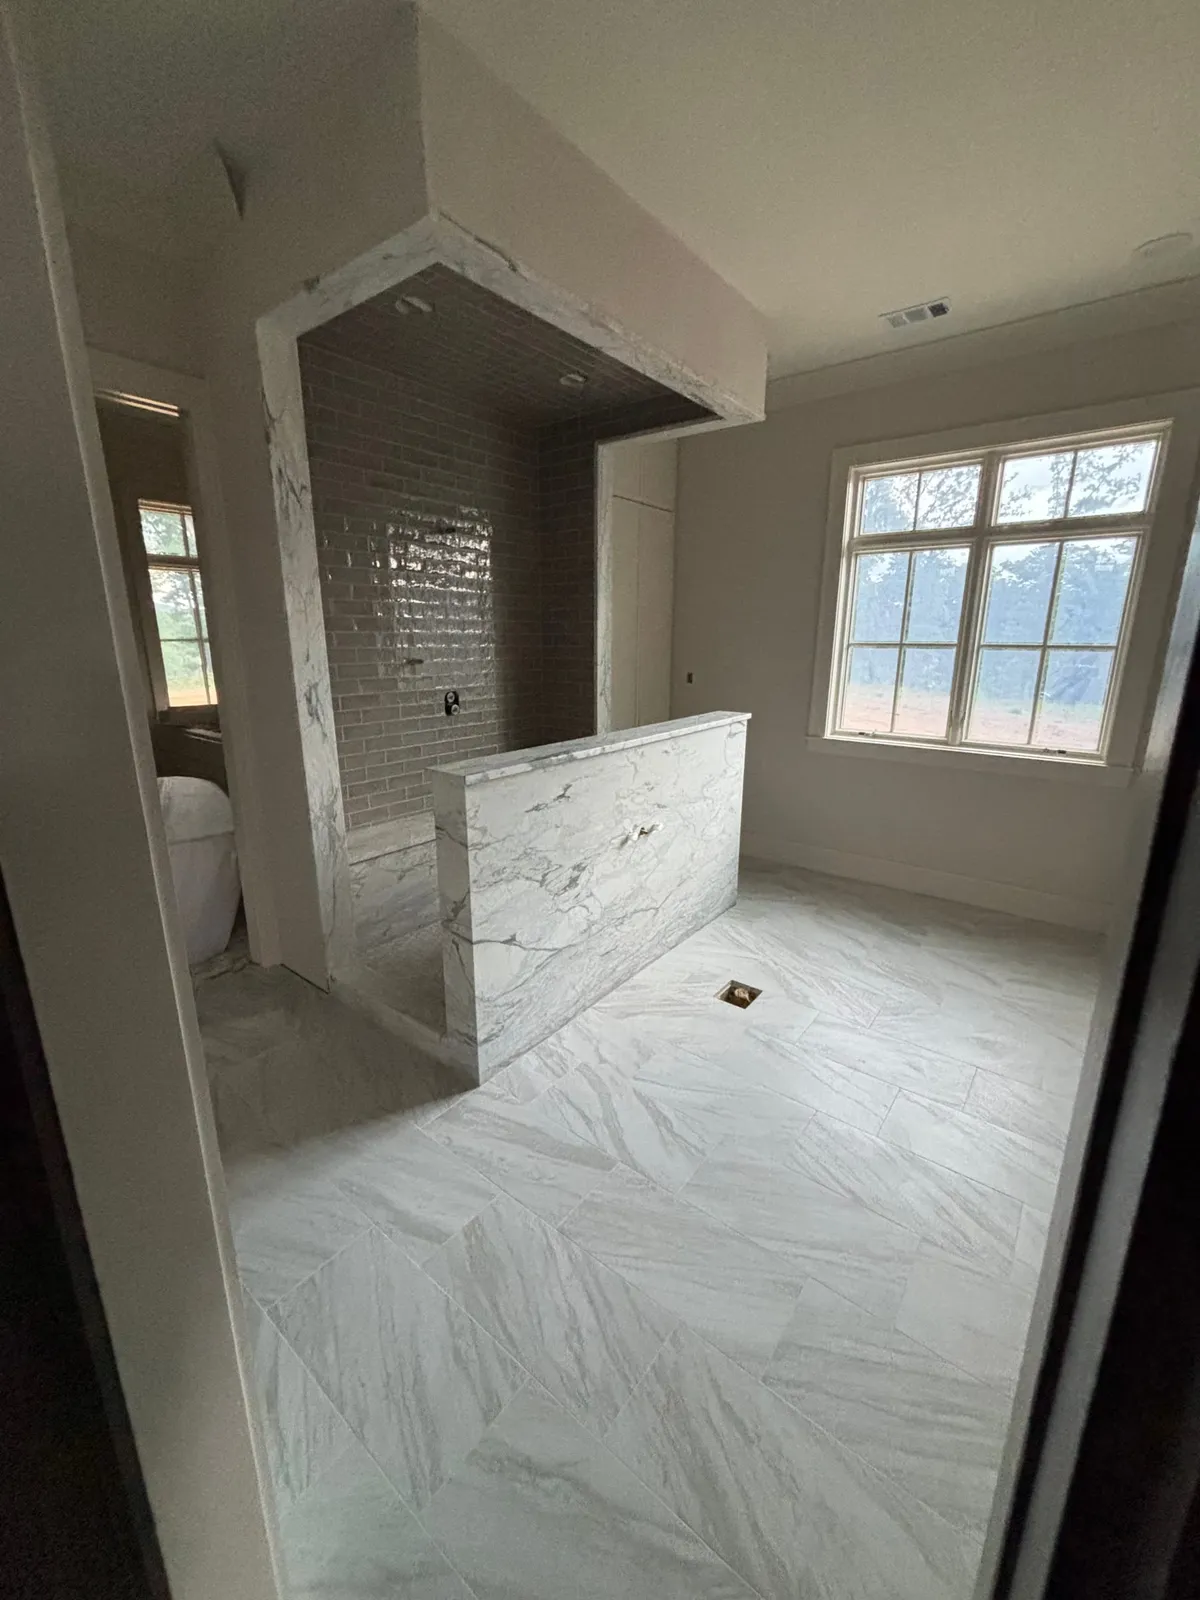
Large-format tile looks seamless because it has so few grout lines, and that’s exactly why it shows every flaw underneath. A slab that’s fine for carpet can leave the edge of one 24×48 tile sitting higher than the next. That’s called lippage, and you feel it underfoot and see it every time light rakes across the room.
So the work starts before the tile does. We check the floor with a straightedge, grind high spots, and fill low ones until the surface is flat enough for the tile being set. On large-format installs we use a leveling-clip system so neighboring tiles cure at the same height.
Layout before the first cut
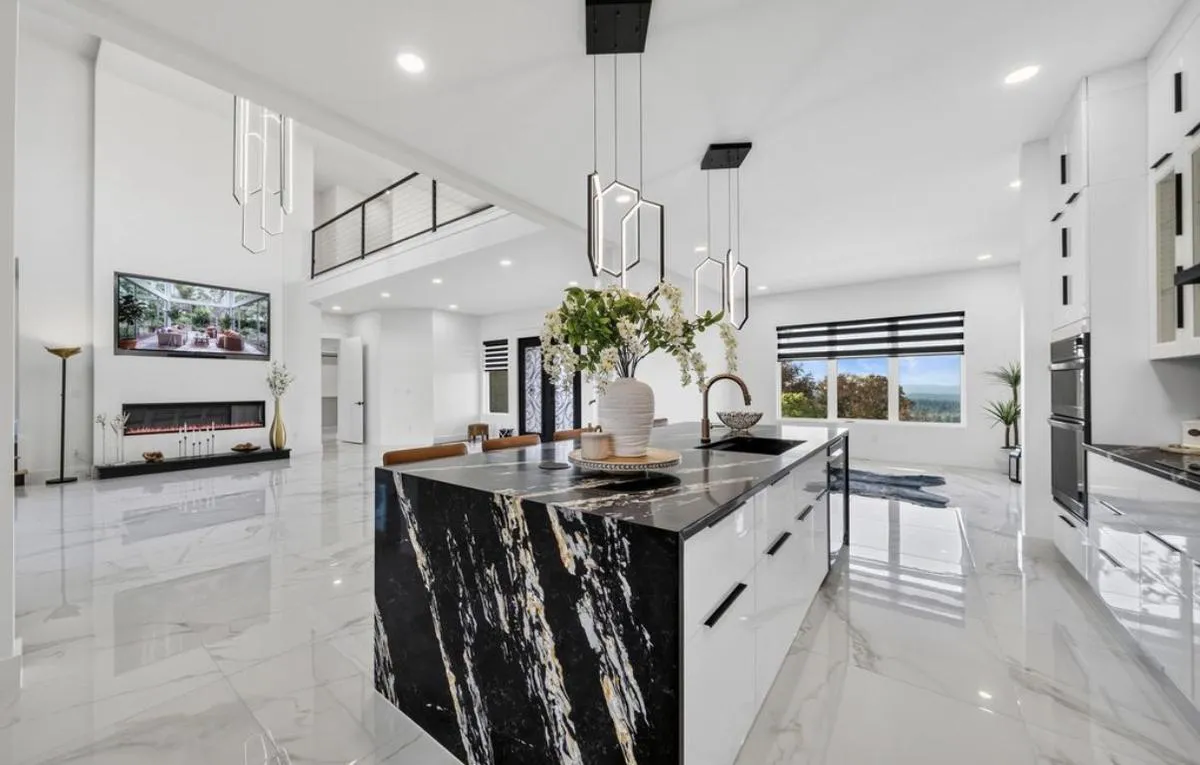
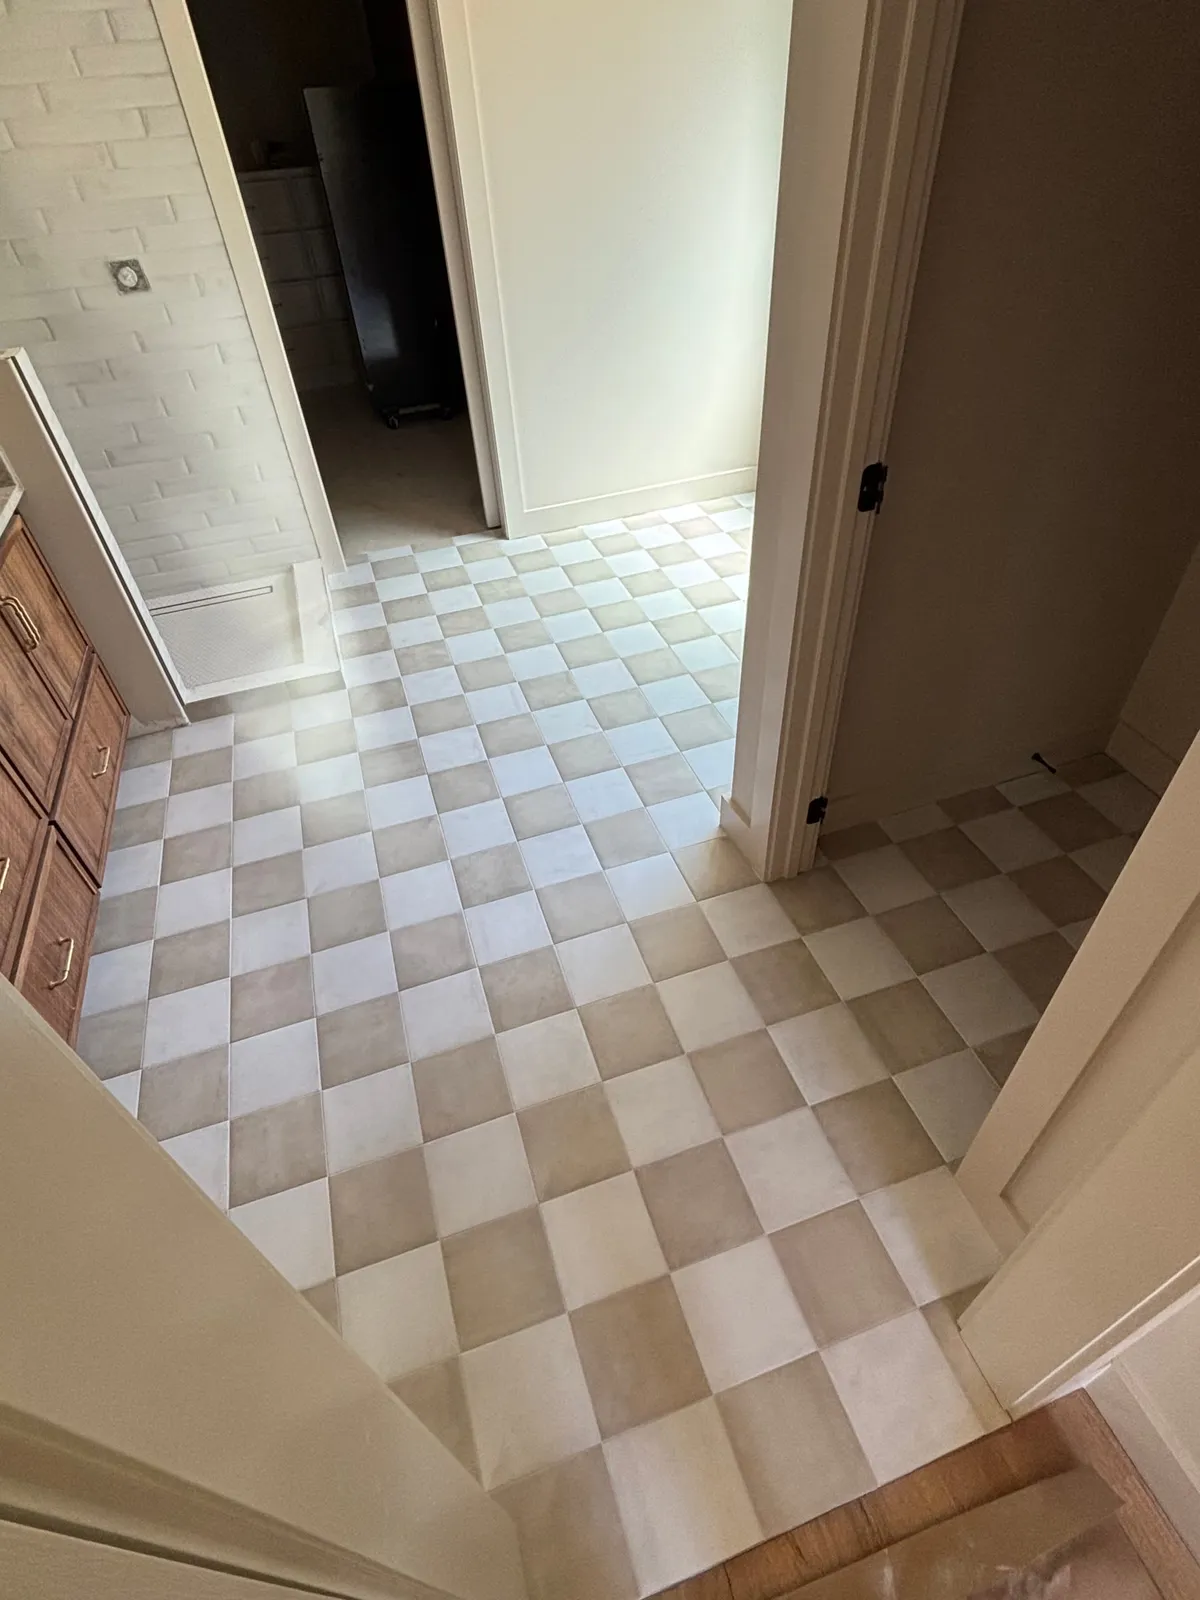
A good floor looks planned because it was. We dry-fit the layout and center it on the room, so cut pieces end up along walls and under cabinets instead of in the doorway or the middle of the floor. Grout lines are lined up with the things your eye follows: the front door, a hallway, the kitchen island.
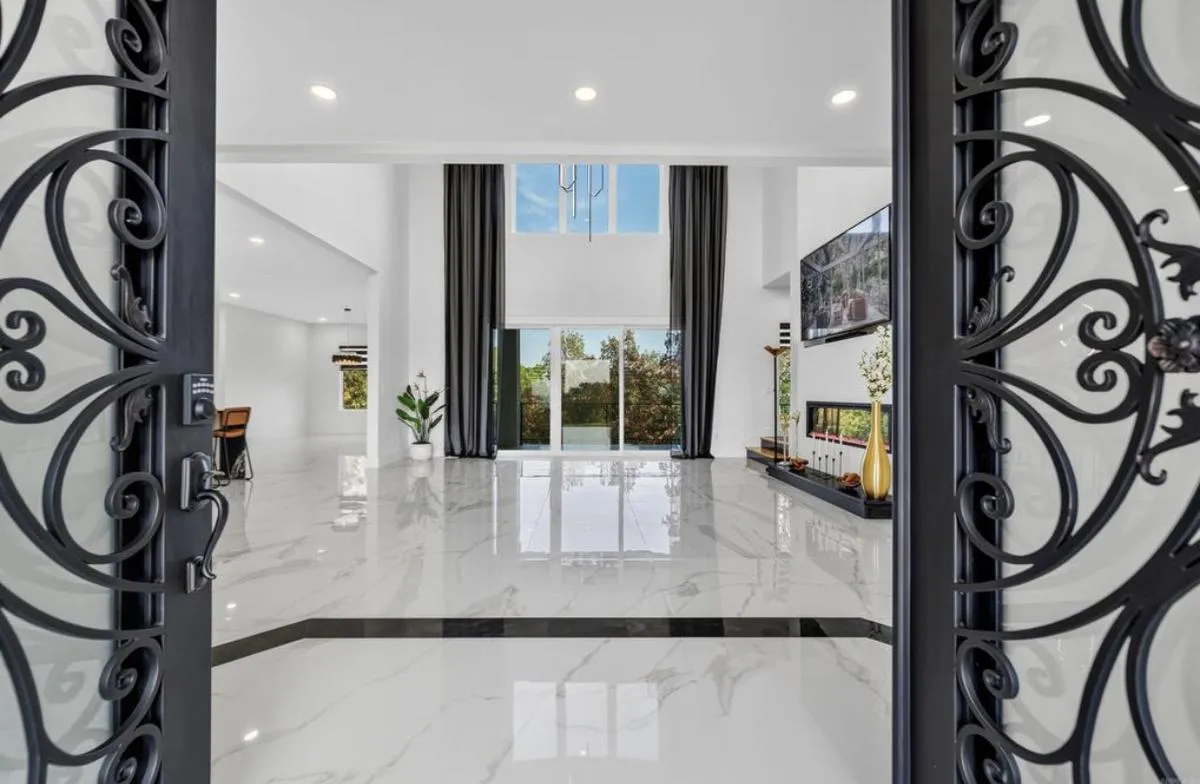
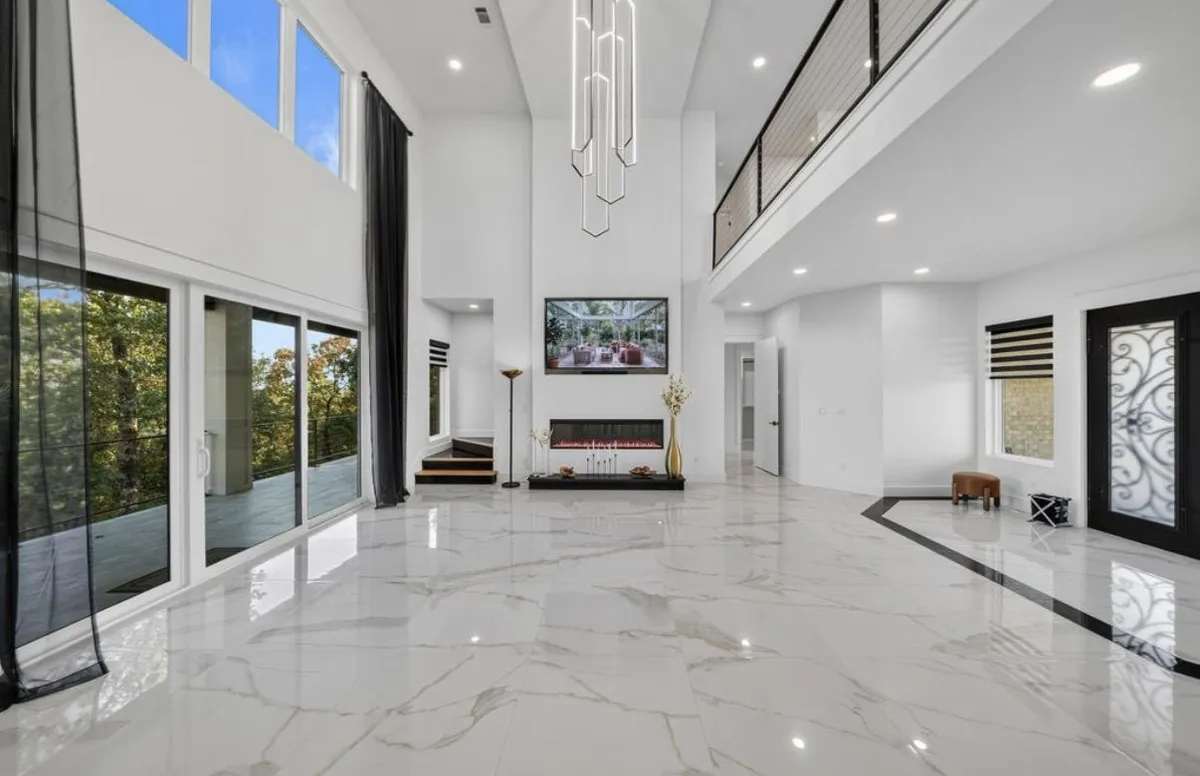
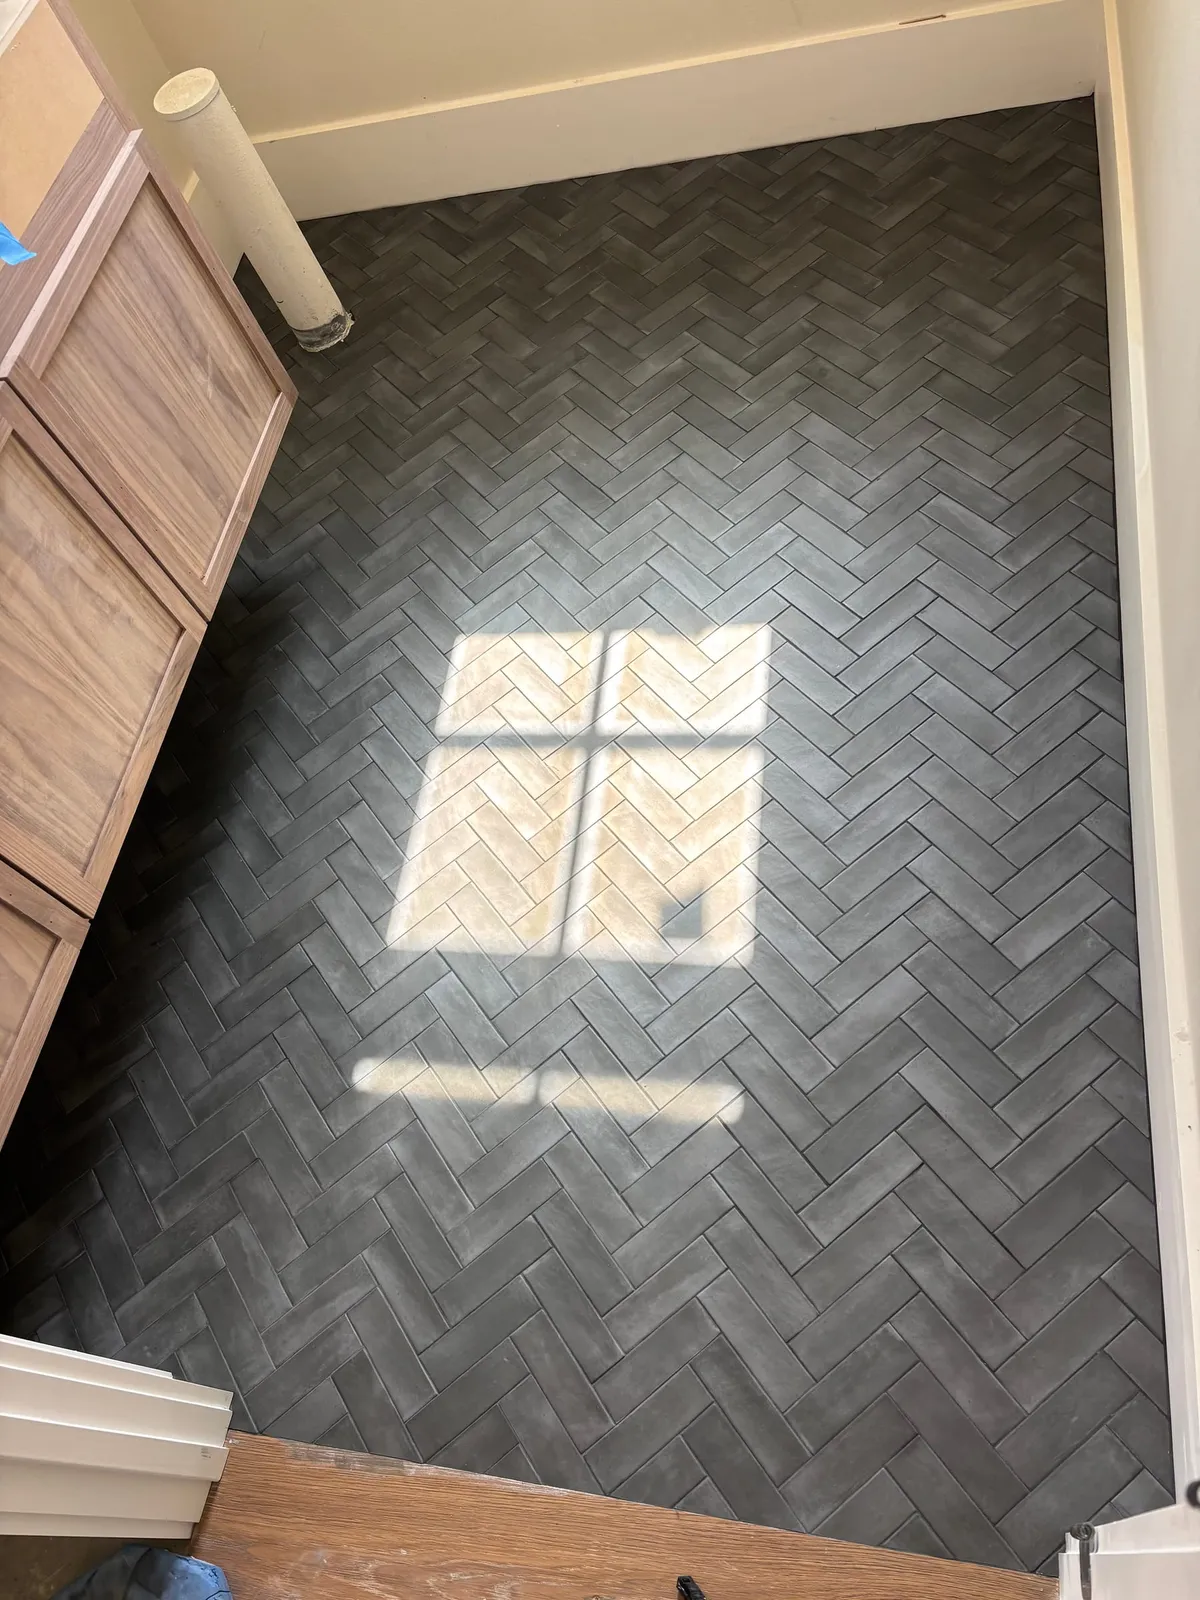
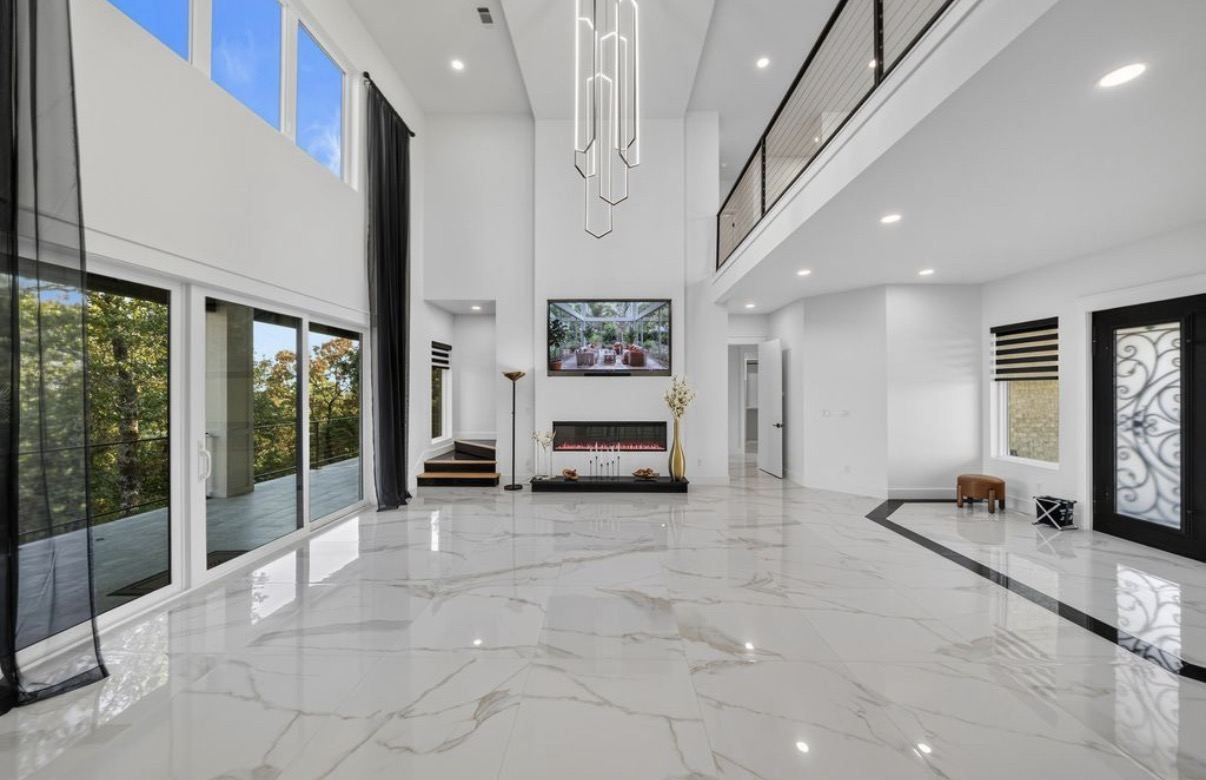
Borders, inlays, and transitions between materials get the same treatment. The black band in the entry above was planned with the rest of the layout, not added after.
Materials we set
- Porcelain for most floors: dense, durable, and low-maintenance.
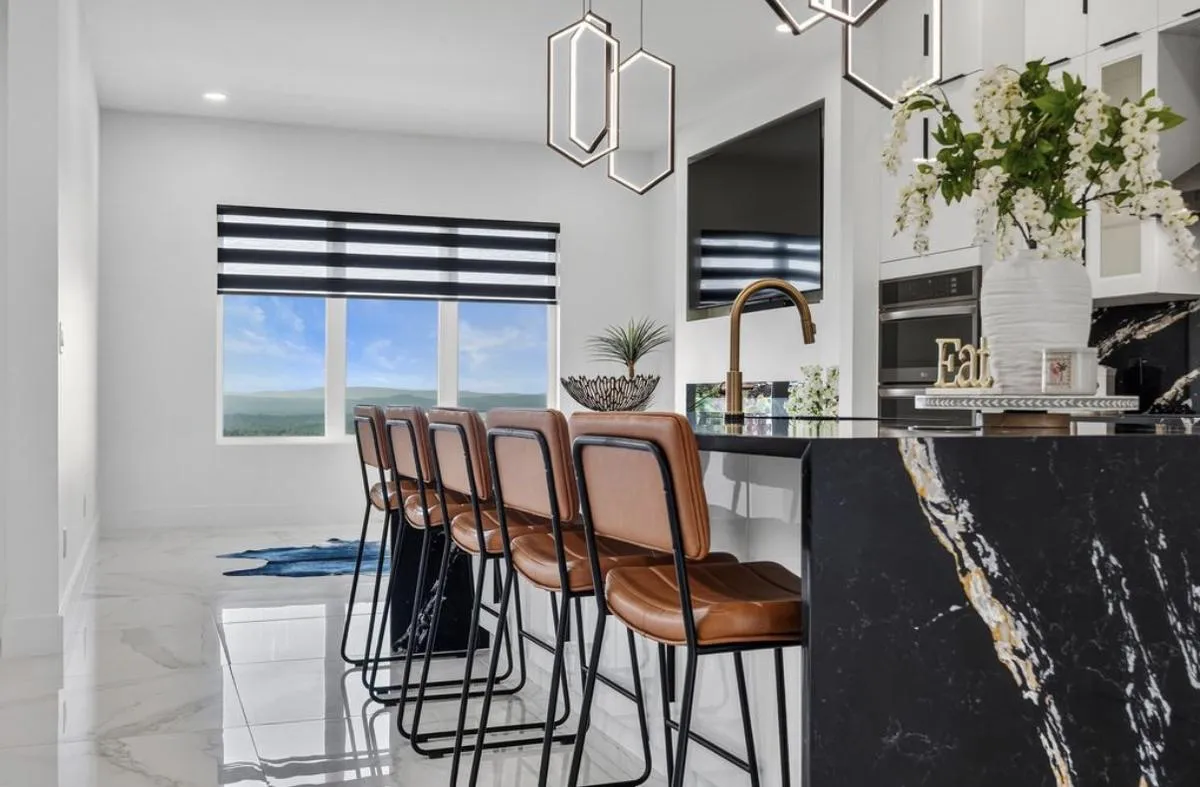
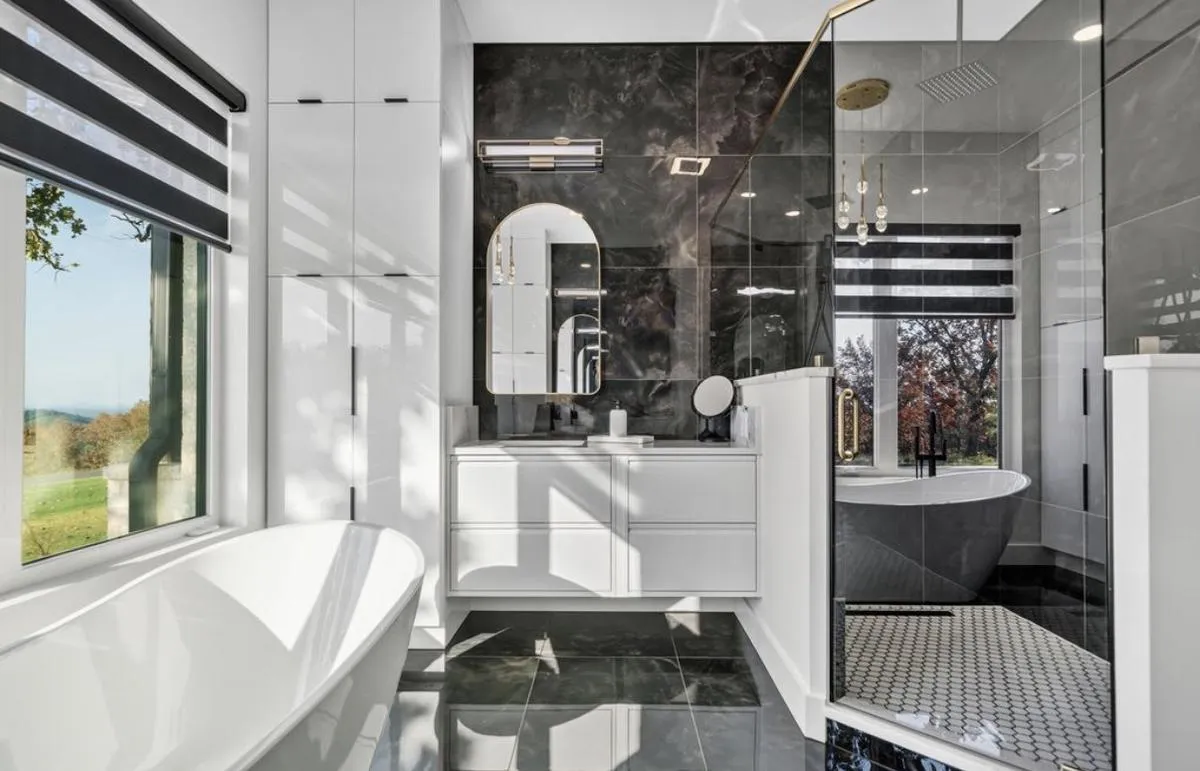
- Marble-look porcelain for the look of polished stone without the sealing and etching.
- Wood-look plank where you want warmth in a wet or high-traffic area.
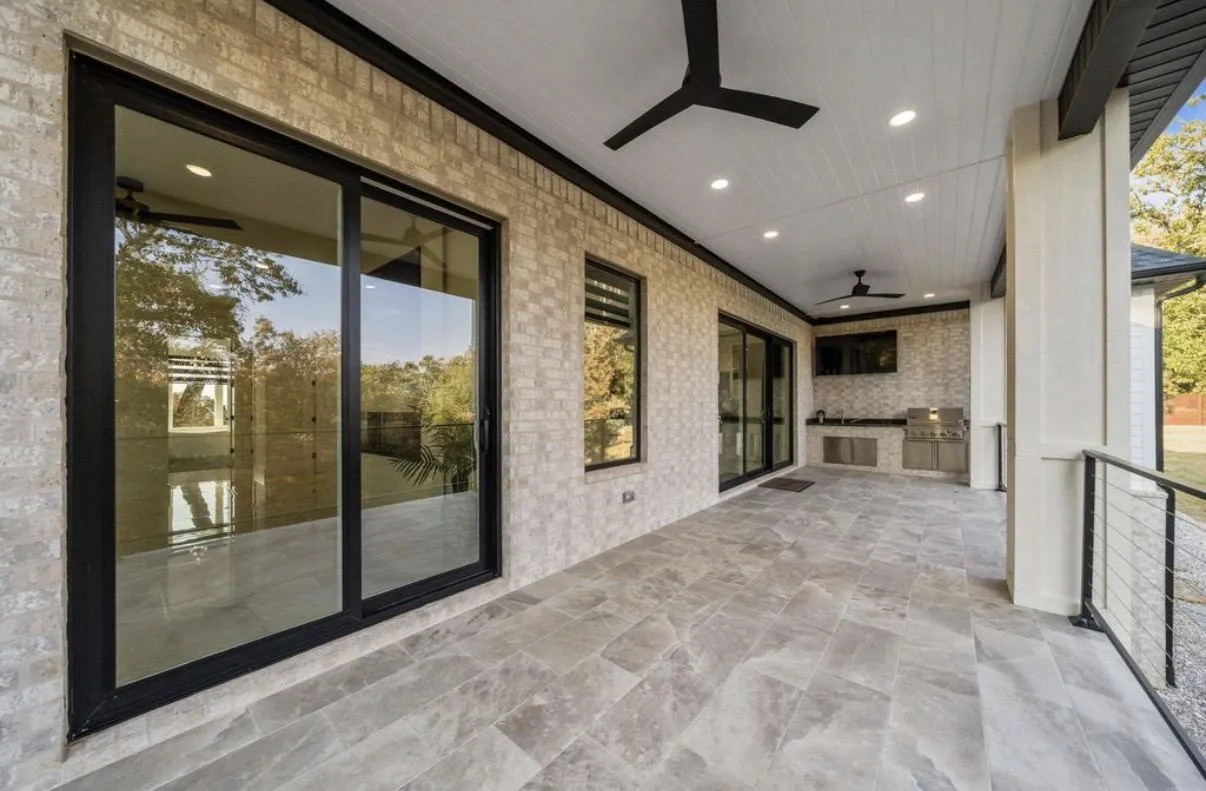
- Natural stone such as marble, travertine, and slate, with the sealing and care that stone needs.
What to expect
Every floor starts with a site visit, where we measure, look at the subfloor, and talk through tile, layout, and grout color. You get a written estimate priced by the square foot and a schedule. During the job we protect the rooms around the work and clean up every day, and before we leave we walk the finished floor with you.